
Original July 22, 2022
How To Design, Develop, and Deploy Your Own Custom WordPress Theme
Why would anyone want to build their WordPress theme? A quick Google search for "WordPress themes" returns 266m results. Even adding "free" to the search returns nearly 134m results. Plus, there is a whole ecosystem built around premium WordPress themes. Often for $50, you can get some polished ones with technical support.
ADVICE: Only proceed if you're up for a new challenge and comfortable with PHP, HTML, CSS, and the WordPress platform. If you don't know the difference between PHP and SSH, I recommend looking at premium themes unless you're up for learning new things. This post isn't a how-to code in WordPress but shares more about the tooling and lessons learned when creating my custom theme.
Even with its challenge, the effort to build your WordPress theme is well worth the time if you're up for it. What follows are some of my lessons learned in setting up a local development environment, designing a theme, and developing custom functions and deployment.
Why Custom WordPress Theme?
Free themes exist; the default WordPress theme is updated yearly. I get it; the custom design is not as popular as it was. Today, with UI frameworks like Material and Bootstrap, almost all sites look and feel the same. But there are a few benefits to rolling your theme such as uniqueness and further understanding the platform. Plus its always a great feeling to see your vision become reality.
Prerequisite - Tools
DesktopServer (or Local Dev Env)
While making changes to your main WordPress site is perfectly acceptable, the better setup is to work on the theme locally on your computer and then deploy it to your main site. ServerPress' DesktopServer provides a one-click setup to get WordPress (including the web server and database) on your local computer.

9/24/22 Update - ServerPress, the company behind DesktopServer, is no longer supporting the product. The company seems to have closed its doors. In place of DesktopServer, Containerized WordPress (via Docker) or pre-built VM images could be used.
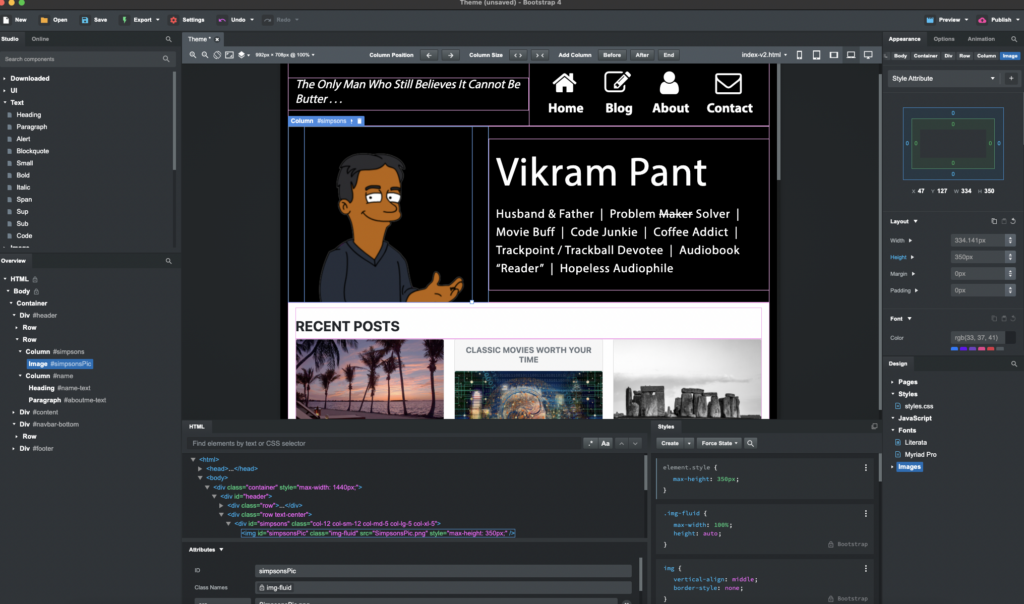
Bootstrap Studio
I am by no means a UI/UX expert. And I would never call myself a skilled Frontend Developer. I can work a front end, but laying one out and getting that CSS right is too frustrating for me; I need a tool. Enter Bootstrap Studio - a fantastic product because it provides the ability to build out the UI using standard Bootstrap components and exports the HTML/CSS. You can drag and drop, build responsive media queries, and edit properties within the tool. It is much more powerful and feature-rich than I credit it. But most important - it takes care of all the HTML and CSS details when I lay out a page. Priceless.
WordPress
A local WordPress is ideal to start development, but you'll need a hosted WordPress solution for people to access. I use Google Cloud and its free tier to host WordPress.
Design
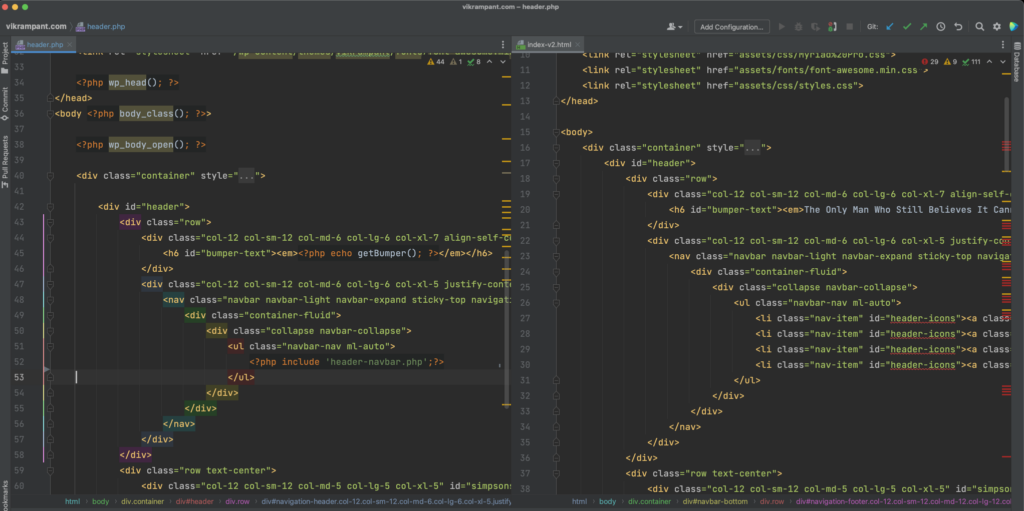
Once done with the theme in Bootstrap Studio, exporting creates the necessary HTML and CSS. At that point, it's mainly an exercise in copying from raw HTML into PHP and inserting code snippets as required.
Development
Without deep diving into WordPress development, the custom theme functions exist in functions.php. I'd strongly recommend you keep all custom theme code written in this one file.
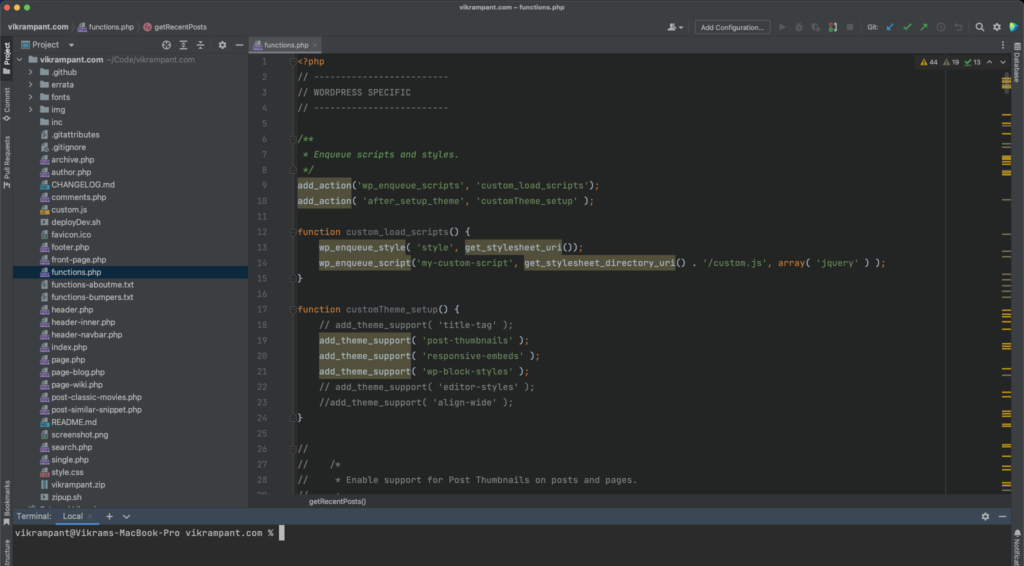
Custom Javascript can go into a custom.js file and get loaded from functions.php. Again, I do not recommend writing Javascript within the PHP page or post templates.
Deployment
While DesktopServer, paid version, provides a method to upload a theme to WordPress, manually doing it isn't that hard. I created a small shell script in my custom theme folder that makes a zip file. Then via WordPress Admin, I choose Upload Theme and am done.
#!/usr/bin/env bash
echo '--------------------------'
echo 'Zip  WordPress Theme ...'
echo '--------------------------'
rm vikrampant.zip
zip -r vikrampant.zip . -x .git/\*
echo '--------------------------'
echo 'ZIP file created ...'
echo '--------------------------'
If you want a challenge, you could use GitHub Actions and automatically push your theme being committed to GitHub and then deploying to your web host.
RELATED POST TO READ
How to Deploy WordPress with SSL on Google Cloud for Free
In a few hours, anyone, even those not well-versed in cloud computing or shell scripting, can deploy WordPress running SSL for free in Google Cloud.
RELATED POST TO READ
How To Redirect to HTTPS for WordPress with NGINX and SSL Certified by Bitnami and Automattic
How to redirect HTTP (unsecured) traffic to HTTPS when using NGINX.