How to Deploy WordPress with SSL on Google Cloud for Free
FYI, this site runs on Google Cloud's Free Tier using the below steps.
Recently, I read that it was possible to use Google Cloud's Free Tier to deploy and run an instance of WordPress. I tried myself, and after overcoming a few hurdles, I was surprised by how easy it was. In a few hours, anyone, even those not well-versed in cloud computing or shell scripting, can go from zero to a fully functional WordPress deployment running SSL for free in Google Cloud.
- Why Google Cloud's Free Tier is Different
- WordPress Deployments Available in Google Cloud Marketplace
- Deployment of WordPress in Google Cloud
- Configuring SSL (HTTPS) with Lets Encrypt
- Automate 90-day SSL Renewal
Why Google Cloud's Free Tier is Different
What separates them, at least from AWS, is the free tier offerings come with no time restrictions such as "12 months free" or "free trial." If you can remain within Google Cloud's Free Tier usage limits, it's free - always.
One Free Tier offering uses Google Cloud's Compute Engine "E" virtual machine instances. The "E" instance, aka "e2-micro", is a shared server providing 10 GB persistent storage. In terms of a simple blog or to get started with WordPress, these are ideal specs - especially when you leverage prebuilt WordPress deployments from Google Cloud Marketplace.
WordPress Deployments Available in Google Cloud Marketplace
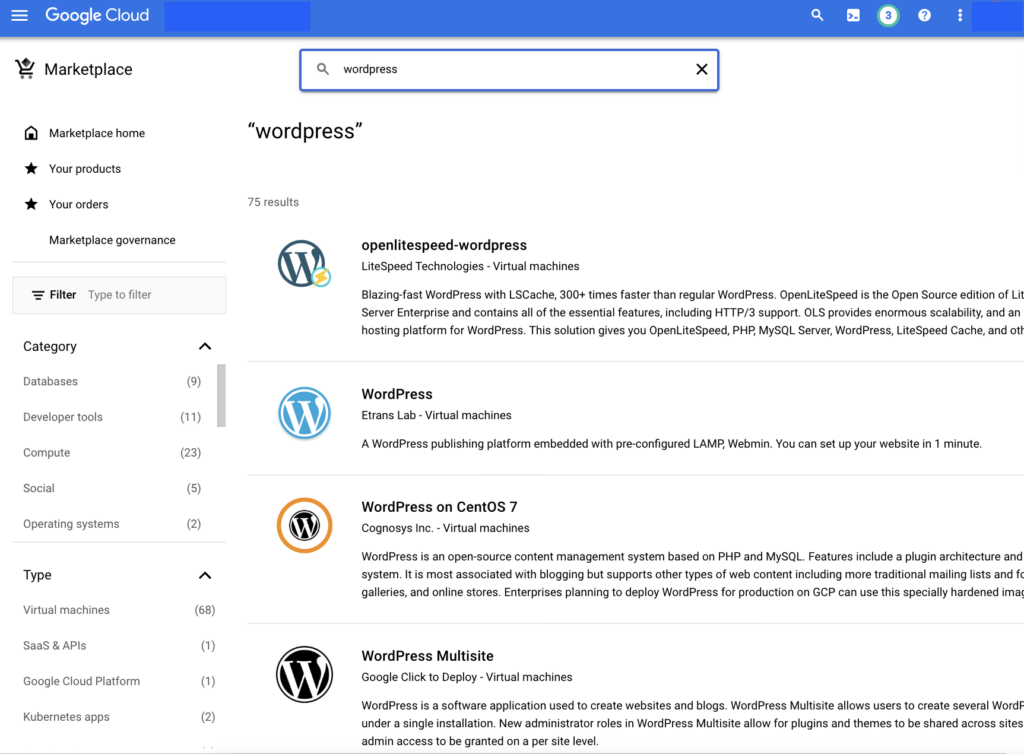
After you complete signing up for Google Cloud, navigate to Marketplace. Google Cloud Marketplace is the storefront for hundreds of vendors who provide you with prebuilt virtual machine instances which you can configure and deploy yourself. Regarding WordPress, as shown in the screenshot below, there are 75 different prebuilt virtual machine instances. One challenge is finding the right one that will let you launch on the free "E" instance.

I tried a few different instances, including Google's Click to Deploy instance. As I scrolled through the options, I came across one from Bitnami that also included NGINX and SSL and can run on an "e2-micro" machine type. Hosting WordPress for free is excellent, but a common challenge is dealing with SSL certificates so you can serve across HTTPS.

The "WordPress with NGINX and SSL Certified by Bitnami and Automattic" provides both WordPress and SSL certificate creation and management and a robust web server that provides a reverse proxy.
Deployment of WordPress in Google Cloud
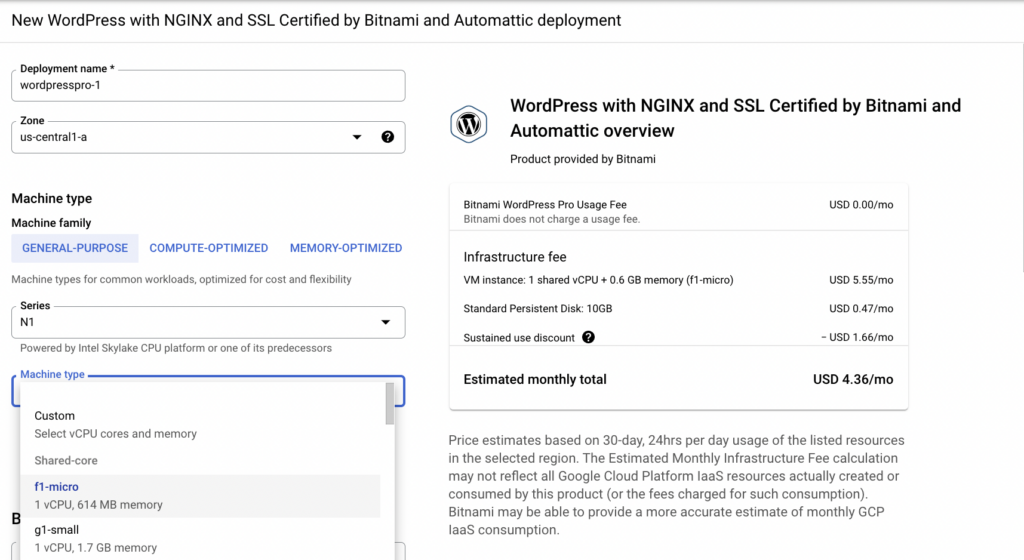
Selecting the suitable Machine Series and Type is critical to getting the most from Google Cloud's Free Tier. When creating an instance, choose Series "E2" and Machine type of "e2-micro".

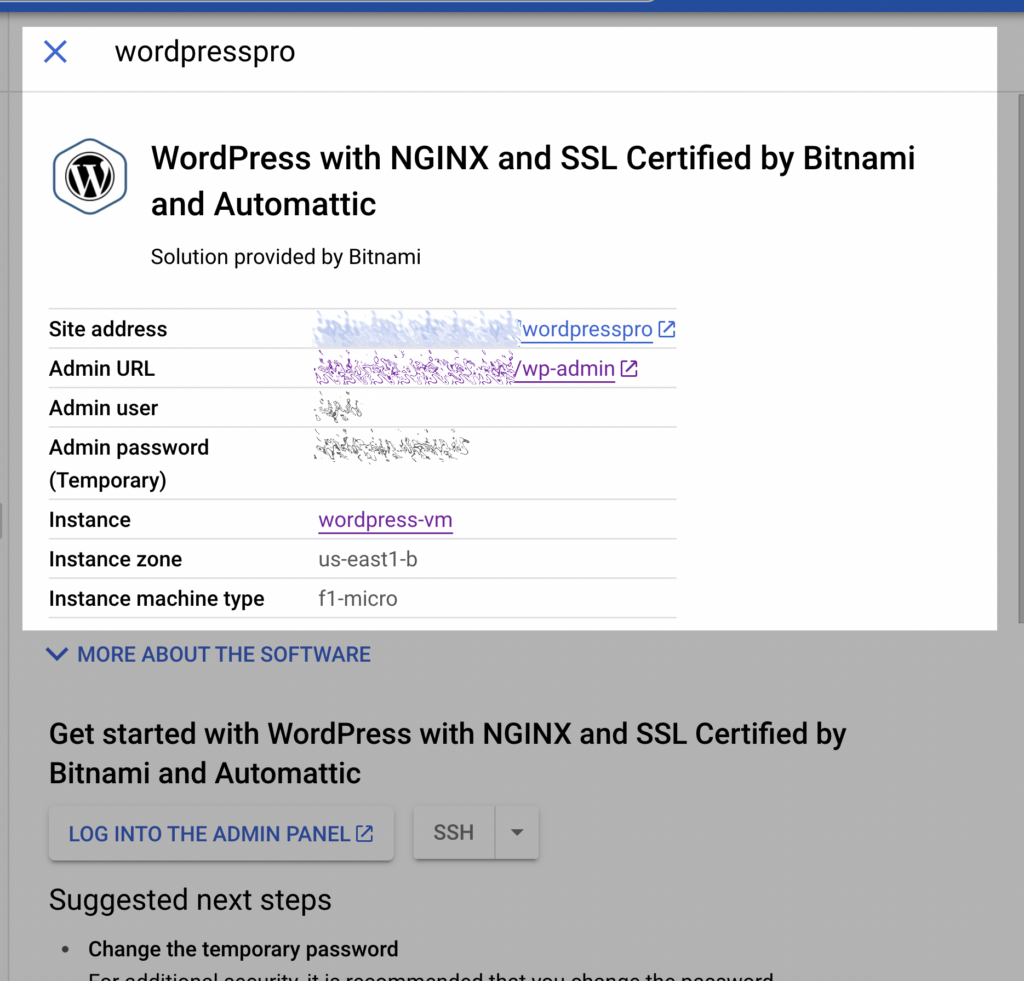
Enter the required values and deploy the instance. Note that not all Zones in the dropdown offer "e2-micro". Keep switching if needed to find one that does (for example, us-central1, us-west1, us-east1). It should only take a few minutes to complete the provisioning of the virtual machine. Once done, you get the details of usernames and passwords and how to connect.

If needed later, these are always accessible via Deployment Manager. You can use the public IP address and the WP-Admin endpoint to configure the blog to connect.
Configuring SSL (HTTPS) with Lets Encrypt
You can pay for SSL certificates, but this WordPress instance bundles the ability to use Let's Encrypt and its free alternative. Several extra steps are required using the Command Line Interface (not via Web). The first step is to SSH into the WordPress server. Within Google Cloud Console, this is a one-click effort that launches a terminal window within a pop-up browser window.

The following commands are from Bitnami's docs for ease. The commands install the "Lego" client, generate a certificate and deploy the certificate to the web server. Note to replace EMAIL-ADDRESS and DOMAIN with your specific values (keep the quotes around it).
sudo /opt/bitnami/ctlscript.sh stop

sudo /opt/bitnami/letsencrypt/lego --tls --email="EMAIL-ADDRESS" --domains="DOMAIN" --domains="www.DOMAIN" --path="/opt/bitnami/letsencrypt" run

sudo mv /opt/bitnami/nginx/conf/bitnami/certs/server.crt /opt/bitnami/nginx/conf/bitnami/certs/server.crt.old

sudo mv /opt/bitnami/nginx/conf/bitnami/certs/server.key /opt/bitnami/nginx/conf/bitnami/certs/server.key.old

sudo mv /opt/bitnami/nginx/conf/bitnami/certs/server.csr /opt/bitnami/nginx/conf/bitnami/certs/server.csr.old

sudo ln -sf /opt/bitnami/letsencrypt/certificates/DOMAIN.key /opt/bitnami/nginx/conf/bitnami/certs/server.key

sudo ln -sf /opt/bitnami/letsencrypt/certificates/DOMAIN.crt /opt/bitnami/nginx/conf/bitnami/certs/server.crt

sudo chown root:root /opt/bitnami/nginx/conf/bitnami/certs/server*

sudo chmod 600 /opt/bitnami/nginx/conf/bitnami/certs/server*

sudo /opt/bitnami/ctlscript.sh start
To know more about what each does, refer to the official Bitnami docs. Another step to take after setting up SSL is to force all unsecured HTTP traffic to HTTPS.
Automate 90-day SSL Renewal
While Let's Encrypt is free, it only allows SSL certificates to be valid for 90 days. Thankfully there is an easy way to script the renewal process. Even if you aren't familiar with UNIX or shell scripting, running the following commands (and changing your values) will enable automatic renewal every 90 days.
sudo mkdir -p /opt/bitnami/letsencrypt/scripts
sudo nano /opt/bitnami/letsencrypt/scripts/renew-certificate.sh

# contents of renew-certificate.sh
#!/bin/bash
sudo /opt/bitnami/ctlscript.sh stop nginx
sudo /opt/bitnami/letsencrypt/lego --tls --email="EMAIL-ADDRESS" --domains="DOMAIN" --path="/opt/bitnami/letsencrypt" renew --days 90
sudo /opt/bitnami/ctlscript.sh start nginx

sudo chmod +x /opt/bitnami/letsencrypt/scripts/renew-certificate.sh
sudo crontab -e

# add below line to crontab
  0 0 1 * * /opt/bitnami/letsencrypt/scripts/renew-certificate.sh 2> /dev/null
End Result
You've got a fully functional WordPress blog with SSL running for free, like this one, in Google Cloud.
RELATED POST TO READ
Connect to Google Cloud SQL with Cloud SQL Auth proxy and UNIX Sockets
Google Cloud SQL provides multiple ways for a developer to connect to a database externally for development or testing purposes.
RELATED POST TO READ
How To Design, Develop, and Deploy Your Own Custom WordPress Theme
I get it; the custom design is not as popular as it was. But there are a few benefits to rolling your theme.
RELATED POST TO READ
How To Redirect to HTTPS for WordPress with NGINX and SSL Certified by Bitnami and Automattic
How to redirect HTTP (unsecured) traffic to HTTPS when using NGINX.
